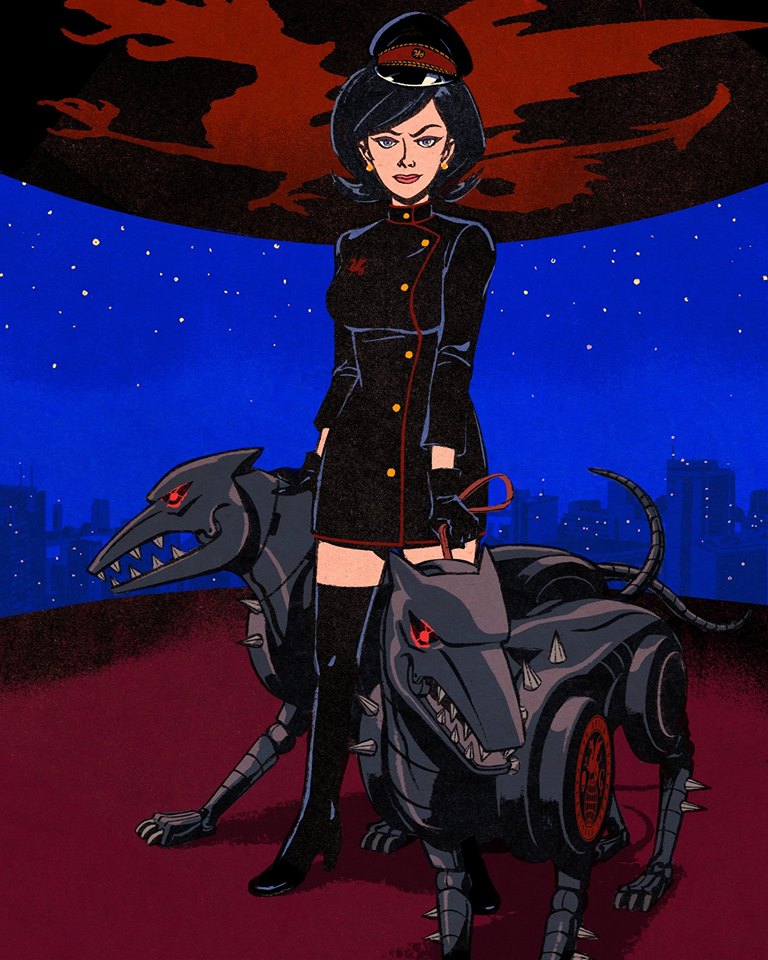
Dr. Mrs. The Monarch
 |
Like the only full body reference. I want to say before I get started that it may all seem very procedural when I'm typing this up but along the way I was always pausing because of self-doubt. I also ran into a ton of issues, some I documented here, others I didn’t mention. This cosplay took a lot longer than it seems.I started with searching for the right fabric. I ordered a bunch of swatches from mood thinking I knew what direction I wanted to go in. But before I even got my samples I went to fabric outlet sale. I walked away very happy with some kind of polyester blend with a bit a 2-way stretch.I got started by drafting the dress from almost 100 percent scratch. I tried to do a modified dress pattern but once again my annoyance at store bought patterns drove me to my old standby. Saran wrap and tape. I used the collar portion of the store pattern as reference. Then I used the shoulder portion of a pattern and inserted directly into my tape pattern. Once I had all the lines and portions squared away with sharpie, I cut it all off and went about transferring it to flat patterns. Flat paper pattern were made symmetrical and it was of to a mock-up. |
 |
| I spent two plus days fitting this mock-up. I finally got to cutting to the actual fabric. In between there I whipped out the interfacing patterns as well so I could cut that too. After I got all the dress pieces cut, interfaced and serged, I realized I need some piping to start sewing stuff. |
 |
| Fabric cut out, serged and interfaced. (Cat for bonus). I spent a good two days plus just getting the draft mock-up right. Once I thought I had it right I cut it up and applied it back to the original paper pattern. I once more cut out a cloth mock-up and double checked my pattern. It all looked good (as far as I could tell anyways).I cut my fabric on a bias and serged it anyhow even though I didn't need too. I wish I had a zipper/ piping foot for my serger. Serging both sides of the bias and adding in the edge of the dress added a lot of bulk. If I had a zipper foot I would have serged both edges together and sealed in the cording all in one go. |
 |
| Some seams sewn, piping just on top. Most of the cording had to be applied to the dress in the midst of sewing. I sewed up the sides, a few inches of the bottom center seam (I'll explain in a sec), shoulders and sleeves. I started applying the piping in a specific way so as to minimize seams. I started at the center back of the collar, proceed around the front then down the front over-flap. Continuing on I made a sharp turn at the bottom corner of the edge of the dress and then towards the back around the hem. There's a junction not quite the center back where I continued on with a second cord. The piping came all the way around front and extends a bit under the front flap/ panel to promote the look of continuous when there is movement. |
 |
| The hat is too big lol. I did a lot of trying on, I wasn't very confident. |
 |
| Piping starting to go on. Finally I added a short bit on the other side of the collar. The last bit involving piping was to add it to the mandarin collar and then attach the collar to the dress. Despite the bulk the collar turned out well. Then I moved on to finishing the dress. I had get the front panel positioned just right. Once I got it pinned in place I had to finalize the position of the buttons. |
 |
| Starting to look like something with those buttons pinned on. |
 |
| Final? |
 |
| Checking placement from multiple angles. Starting on my mannequin I placed them according to my pattern. In addition to eyeballing it I took photos and double checked those. I didn't do too much fidgeting before I proceed. It's important to note with things like this, those buttons are never going to be equal distance apart. They are all going to be different but it'll look so good. Keeping the front pinned I prepared the button holes one by one by only unpinning that area. My automatic buttonholes foot wasn't having the thickness of the garment so I had to freehand them all. I made the holes only large enough to fit the loop of the button. I didn't want the button holes to show, but if I had just sewn the buttons to the surface they would be all droopy. Just wouldn't look real or good. I hand sewed the buttons to the front only, not through to the under panel. I started top-stitching from the collar down the front panel, next to the piping. Then I reached the hem and pushed all the edges up and stitched them in place as well. |
 |
| Zipper installed, so form fitting~! |
 |
| -Star Trek short- Finally I installed a heavy duty invisible zip in the center back.Then I decided to wash the dress... which was a bit of a mistake for a few reasons. It really changed the hand of the fabric, it was much softer and flowing. Which I didn't want. second and the most annoying, the cording in the piping was cotton and thus expand greatly, in length. The hem of the dress looked like I had applied horsehair braid. So I had to pull out the excess length, what a pain in the butt, especially during con-crunch.With that the dress was done enough for Fanime. Ideally I would have liked to have lined the collar and the bottom edge of the dress at least but another time. I still had a wig, boot covers and hat to make. I washed the remainder of my fabric and got started on boot cover patterns.I selected my shoe (I have a stash of them) and proceeded to wrap my foot, including the shoe and up my leg. I applied tape and marked out my lines. Carefully I cut it off, transferred it to paper and done. Sewing these were bit of a pain in the butt. Because the fabric was basically a woven (no-stretch) I need to install zips in the ankle area. So I put a short invisible zipper right-way up. I added elastic to the top edges of the boot covers just to see if they would stay up on their own. That would be a nope. So after I added some top stitching to everything I could reach, I went to the old stand by and I pined the tops of the boot cover to a pair of dance tights. Sewed them by taking the bed extension off my sewing machine and sewing like hemming a sleeve. Later at the con I ended up cutting off the excess tights inside the boot covers. |
 |
| Cat butts and boot covers. On to the wig. I ordered a nice one from Arda because I knew that I would be doing a fair amount of styling. It would have been nice to order one with a pre-made side part but I didn’t have that luxury since I ordered so close to the con. So I started by creating a neat side part. I wove/crisscrossed the fibers a bit to hide the short hairs. I applied a bit of hairspray to make it stay put. Then I went to town teasing some volume into it. I’ve gotten a bit better at this, also the arda wig made it soooooo much easier. I smoothed out the top layer and gave it a trim. I blended the bottom edge out with blending scissors and a razor. I decided to give something else a try and curled the bottom up with an iron instead of my usual hot water and curlers method. I ended up way over applying hairspray/gel and it started getting spots. Not to mention it was gross and crunchy. I combed it out and after messing with it a bunch more I finally realized the pursuit of perfection was unnecessary and it looked good. |
 |
| Teasing. Gotta get that 60s volume. |
 |
| So many other characters could be done with this wig. Next up and lastly, the mini Nazi hat. No joke, I’m probably on some kind of government list for having google searched Nazi hat so many times. I copied a pattern off a sequined cop hat I bought to use to brim from, also to see how it was constructed because I having a really hard time understanding how these hats worked. Once I had my pattern pieces I shrunk them till I had to right size. Oh I should probably explain why I am doing this. In the show her hat doesn’t fit around her head, instead it sits on top of her hairdo much like her crown did in her previous seasons outfit. I started by making a band out of worbla and a brim. I attached them together. I covered the worbla with the same red fabric as my trim on my dress. Hot glued on. I cut out the black fabric for the top of the hat and interfacing. I fused it with the iron. For the top round part I added an extra layer of interfacing, a piece of fleece for extra body. I sewed everybody together and hot glued it into the brim. I still had no idea how to style the hat so it was up in the front but slouched in the back. So i made a small bracket to lift the front and glued it in. I kind did the hat in a bit of rush so everything was fraying, so I sealed the deal with a bit of fleece around the inside the brim. The final step was to attach it to the wig, which I accomplished with a bit of string elastic and by poking it between the wefts. As for the finishing touches, I cut a piece of sintra and painted the Guild of Calumnious Intent symbol on using various paints. I e9000’d it to the front. |
 |
| Doesn't look quite right but I'm going for it anyways. |
 |
| Needs to relax in the back. So it's not so muffin-y. I was running short on time and not wanting a repeat of Tigress’s gloves I just Amazoned a pair. Eventually I definitely want to make a matching pair or order a nice set of vintage ones. The undone part of this cosplay is the lining. I don’t have to obviously, it’s cosplay obviously. However the collar is mad itchy. I think it will also help with the wear on the inside of the dress to add a lining. I have quite a bit of the red trim fabric left so I will do the bottom edge and collar in that. In the middle, the bulk of it, I’ll use something light and comfortable. |
 |
| Huzzah. Shoulder pads! Other than that I really want to re-do the emblem on the dress. I can’t decide if I want to try to fake an enamel pin or have a patch made. Either way I don't have the ability to make something that small, so I’ll have to commission it. |
 |
| Have |
 |
| some |
 |
| Selfies! |
And from the PROS!
 |
| Blizzard Terrak |
 |
| Blizzard Terrak |
 |
| Eurobeat Kusami |


.JPG)

No comments:
Post a Comment