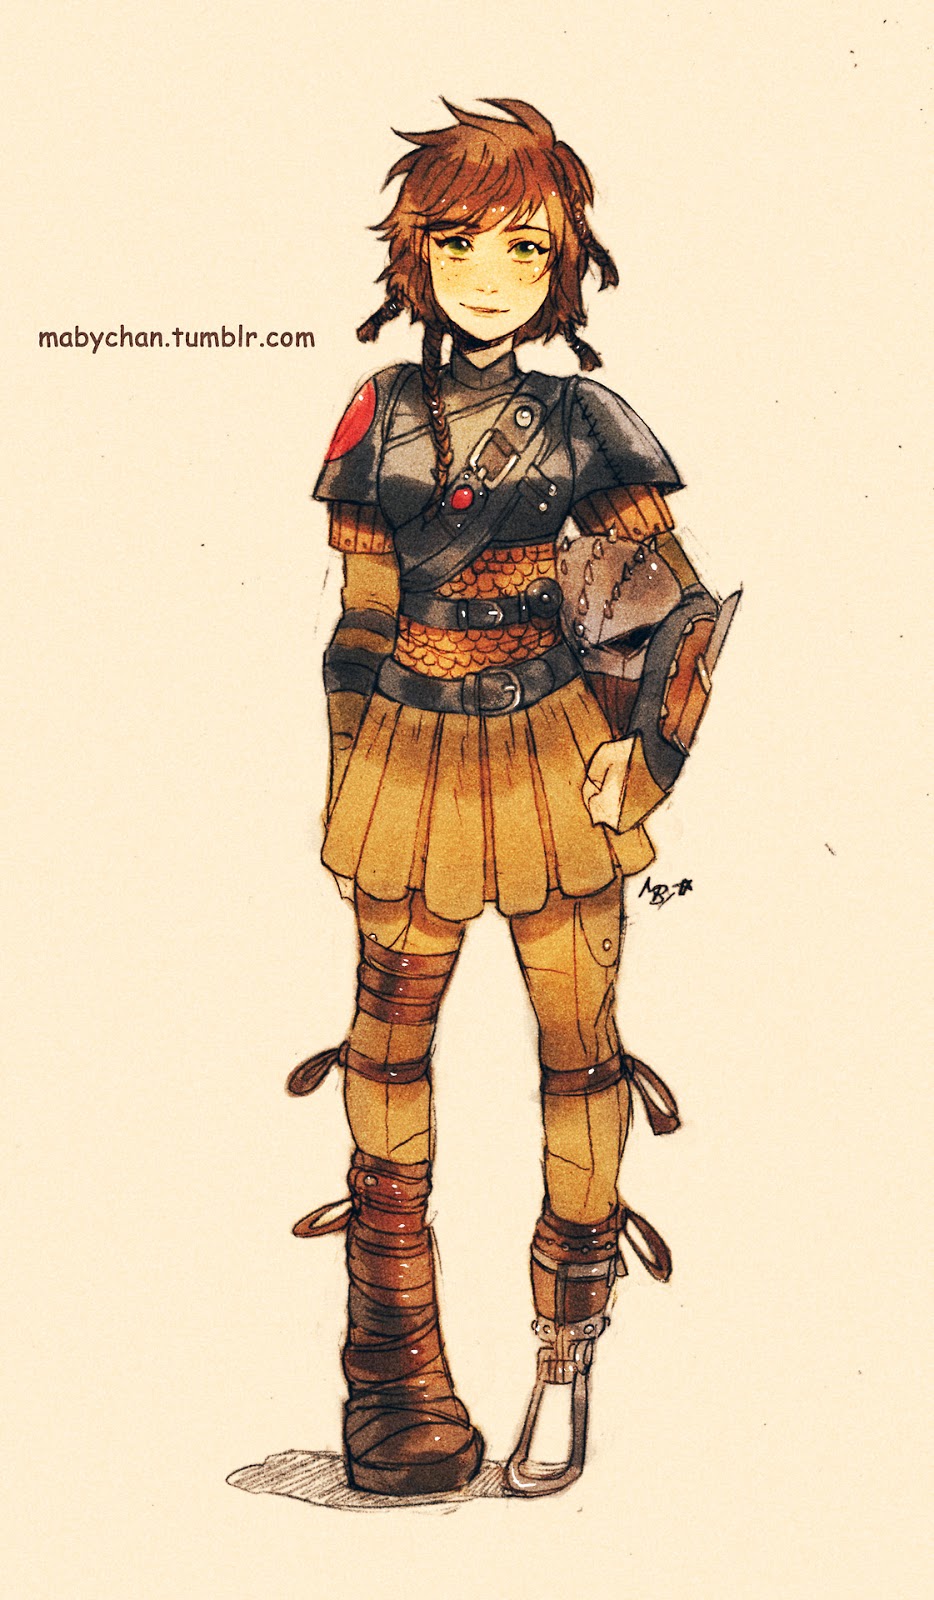
Hiccup from How to Train Your Dragon 2

Someone on social media asked me why I didn’t make this cosplay out of leather. I mean it is in the movie very obviously some type of- well, hide. The short of the answer is money. Craft Foam is very cheap and leather is...not. Modrenisance on Youtube says at one point in one his FAQ videos that the costume and tools cost him 2000 dollars. I didn’t even spend that much on my first car. I would have loved to learn a new material and made a super awesome cosplay. But you know I’m not made of money.
How I have to say how pleased I am with how this cosplay came out overall. Plastidip did an amazing job of recreating the leather texture. (I expand more on how I did this later on).
Materials : craft foam, plastidip, worbla, felt, hot glue etc
Why I choose this cosplay:


So how did I know this would be a character that I would want to wear many times over? I guess that’s just something you know in your heart. Do I f***ing love the movies/series? CHECK! Do I go nuts over any (of the very limited) merchandise? CHECK! Who is my favorite character? Hmm well the twins are hilarious, Astrid is very stoick (haha that wasn’t a pun), but my eyes are always on Hiccup. I think that answers my question.
I was just so fascinated by Hiccup’s armor. The overall design, all the details, the realistic features. Happy sigh. Don’t get me wrong the typical MMO armor can beautiful too but it’s a bit overdone right now.
Crossplay vs Genderbend:


This was a hard one to decide. I really wanted to do a crossplay. I knew with a proper binder I could achieve a flat chest. However I had other womanly hurdles to tackle. I’ve been gifted with wide hips and a tiny waist. I am curvy, and that’s an understatement. I knew in my heart of hearts that there was no hiding that. Even if I had attempted to pad out my waist and even upper body I didn’t think I would able to achieve a somewhat convincing silhouette. So genderbent it was. But I wasn’t about to do a cheesy boobs out girl version of Hiccup. I mean those type of genderbends have their place and can be fun but it’s not what I wanted.
So I searched the interwebs and I studied various artist interpretations of genderbent Hiccup. Quite nicely there were several wonderful renditions in line with my vision, including several manipulations of screenshots. However my overall favorite was mabychan’s interpretation. I thought very much she looked like me and seemed to have the same body type. And while cosplay has brought me a long long in terms of body image acceptance, it still helps that the source material is similar to my body type. I like the idea of the skirt a lot but I preferred it as more of a secondary option than a default look. (I think I was still secretly hoping that I might pull off a crossplay look).
Patterning


Most of the armor was patterned out with poster board. I patterned, copy and modified, tested, taped, untaped, stared in the mirror and did it all again and again until I had the scale and shapes right. It was a lengthy process. I fitted the vest with a saran wrap and tape method on my duct tape dummy. Under clothing was just copied off existing garments I had around.
Types of craft foam


The majority of the armor was 2mm. 3mm and 10mm were used mostly for trims and other specialty areas. The same for the ½ inch mats, using sparingly for tiny doodads. I used superglue in seams (edge to edge). For surface to surface mounting I used super 70 adhesive spray to join most of pieces. I knew from past experience that this thickness of craft foam tended to tear.
I originally had intended to back all the pieces in felt for strength. However as it turns out the plastidip gave the 2mm craft foam a considerable amount strength, or particularly it provided a great resistance to tearing or ripping. I only added felt where I really felt I needed additional strength or thickness or as a barrier against rubbing armor pieces. The gauntlets and the large pauldron have felt backing. The brown lower pauldrons are a thicker 9mm and didn’t need the additional thickness at all. I was most concerned with the vest and breastplate. The most stress would be applied to these piece. They would experience the most stretching and bending. However I got past felting these by focusing reinforcing seams and other key areas. I used rigid but flexible plastic with super glue to strengthen. Like the kind often found in packaging. I also did this for connections (where in the past armor projects I had the most heartbreaks). I put a square on either side the raw craft foam, then add the connector (a sew in type snap). Even though I sanded/roughed up the metal and plastic, the superglue (and later even 5 min epoxy) wouldn’t hold. I ended sewing threw the plastic and craft foam with upholstery grade thread to hold them on. Sounds difficult but I’ve sewn through far worse. Anywhere on the vest where there is a rivet that’s where there is a snap. So for the most part the vest functions like it does in the movie, super cool. The same goes the vest. In the lace up closure I made corset like busks out of plastic. Then superglued them to the back of the surface.
Heating and shaping


I have been reading and watching tutorials on heat shaping foam for many years before and since my first armor project (Azula). However I had never had much luck. But I never gave up I kept practicing with little projects here and there. I think experiencing worbla and having the proper tools (aka a heat gun) finally allowed me to successfully shape foam. While Hiccup’s armor isn’t particularly sculpted, it does have a lot of organic and basic armor shapes in it. Curved pauldrons, domed upper pauldrons, smoothed the darts in the bust of the breastplate, rounded the boot. And because I chose to use craft foam it meant a fully contoured vest as well.
I will note that the super 77 didn’t like being heated up or damped much. But it didn’t fully unstick in any one piece. I did however have to go back in after heating/plastidipping and reglue some edges back down. I did like using the Super 77 a lot. It made sticking layers together super easy. It tacked up quickly but was mostly repositionable but stuck good if you didn’t do anything further (like plastidip). It is ultra thin, easy to apply and remains flexible.
Top stitching and detailing
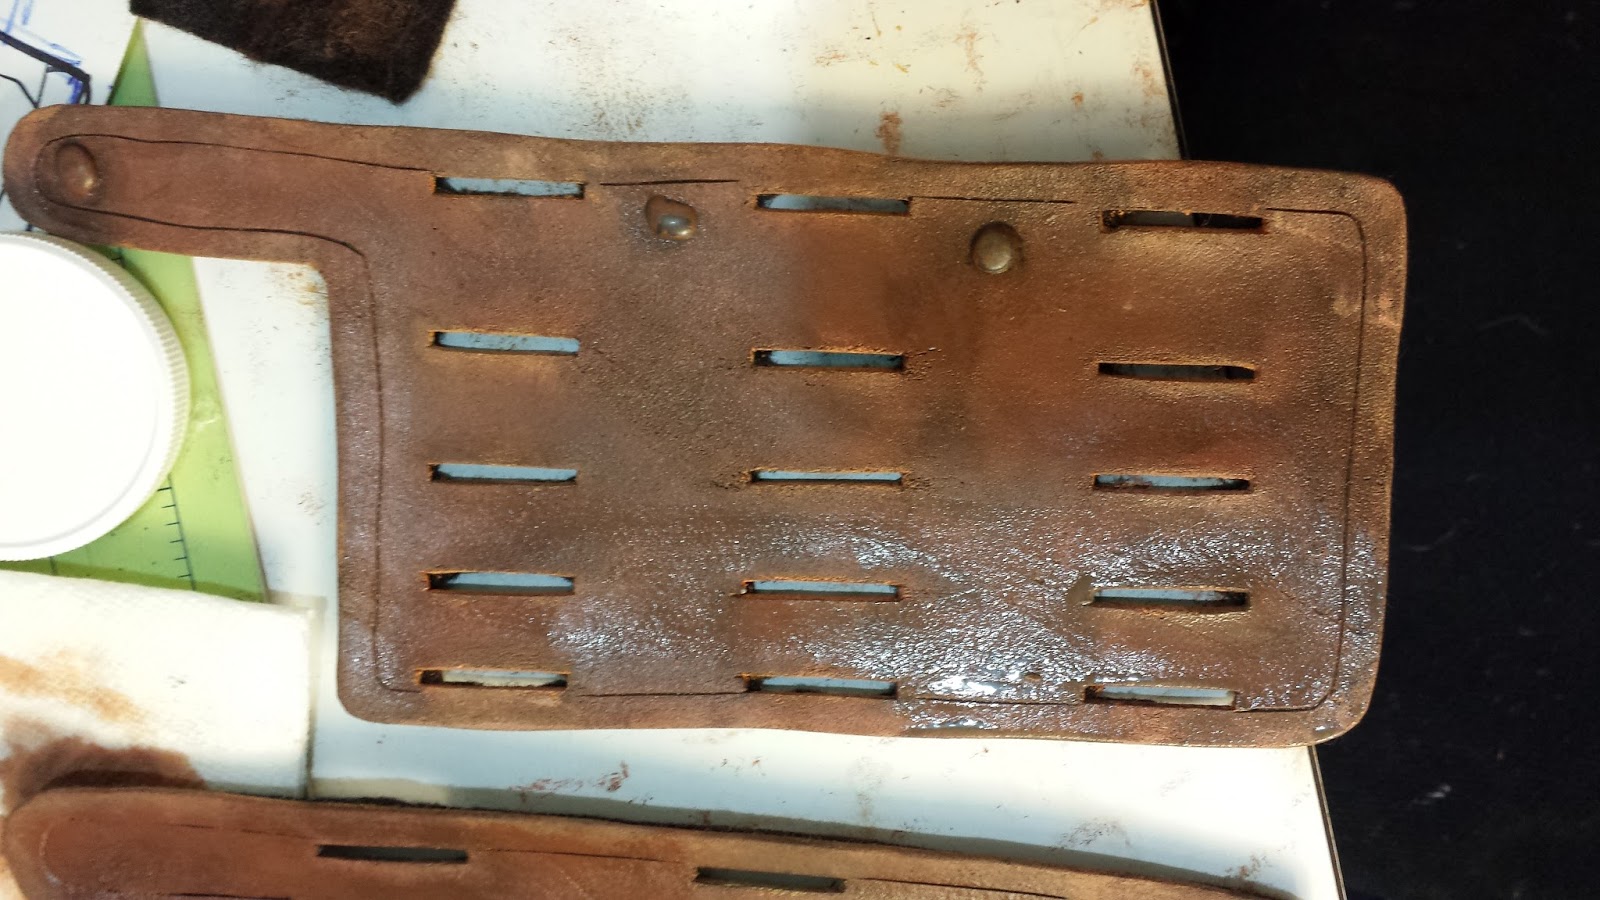
Hiccup’s armor is some type of hide or leather and used realistic joining techniques. However using craft foam those techniques can’t be used in exactly the same why but they can be easily replicated. For example some straps were joined to another piece by stitching. However if I was to use stitching alone, it would like rip out. So I glued straps on, then (being lazy) used my sewing machine with a long stitch. It would have been nice if I had the patience to hand sew the details on to keep with the handmade look. There was lining or scoring in the edges of most of the pieces. I cut into the surface lightly with a sharp exacto knife and then hit the surface with the heat gun to open up the lines. A common technique. But fun to use, especially when I got to the dragon scales on the vest it was especially fun. To create the raised center of the scale I pinched the center after hitting with heat. However because I working in small areas the neighboring area would reactivate and loose its shape. So I very slowly, I slit down the center of each scale on the backside and apply a narrow line of glue in the cut and pinch until dried. About 5 to 10 seconds per scale. It took forever...It really threw off the shape of vest too which I had previously heat shaped to my body via my duct tape mannequin. I repeated the process after I had finished the scales.
As I went along I sanded every edge, either by hand or with a dremel, to create the worn leather look. Including making scratches in the surfaces with a dull xcto.
Plastidip techniques


Plastidip is capable of spraying a smooth texture I just avoided all the do’s and corrects but did the don’t s and wrongs. I’ll explain. A do for spraying would be warm up the can so the particles are evenly disrupted and you don’t want splotches. I wanted splotches. This created the pebbled texture of leather I was looking for. Another don’t I practiced was even light coats. I just gobbled that stuff on. The moral of the story you don’t always have use materials for their intended purposes. But I think that should be a motto for cosplayers anyways.
Mounting and Fixing
With somewhat realistic armor and somewhat realistic movement, realistic strapping would be appropriate. But with the nightmare that turned out on Azula I wasn’t ready to go there so readily. So I did what I should have done with Azula. I mounted the armor directly to the underclothing and to itself. By velcroing the lower pauldron directly to the sleeve, I assured it would move with me constantly. Plus I didn’t have to worry about connecting any straps or the straps breaking or getting in the way of accuracy. The strap at the top of the pauldrons is for show. There is a thin elastic looped through that to a plastic anchor inside the shoulder of the breastplate. Giving maximum mobility and the elastic assures there’s enough stretch in the system to not break.
Areas in the breastplate that had rivets got a snap. The loop that secures the large cross body strap goes through both panels of the breastplate and secures with velcro, bit of a redundant feature.
Painting


At least a third of Hiccup’s armor is black so I left the raw plastidip alone in most areas. On some pieces I got to weathering the black items, I did so with a little white acrylic paint on a dry brush and built it up until I was satisfied. The rest of the armor was a very worn brown leather color. As all the pieces were black plasti dip to start I started by test painting a piece of the bracers. I did with regular acrylic paint. It seemed so tedious and slow. I’m not very good at mixing colors, I don’t seem to have a natural understanding of it and I was never taught in school. But I managed alright to get a really weathered look with areas of wear looking like the color of raw leather where the “stain” had “worn” away. After this I decided to switch to airbrush (mostly just because I wanted an excuse to practice with it). It took a bit of practice to mix my airbrush colors the same as my acrylics but I got close enough. My current airbrushes reservoir is quite small and mixing, remixing and refilling got to be quite tedious. One by one I painted the lower pauldrons, gauntlet details, the entire vest, and the top of the prosthetic leg. I have yet to properly paint the boot.
Boot and prosthetic foot
 |
| Have you ever tried to take a picture of your feet? |
 |

Probably the only reason you came here right? Haha. I started out the search for the right shoes. And eh, the ones I ended up were barely passable. I need something with a closed toe but I couldn’t find anything with the right combination of features. I needed something as tall as possible and round, and with my tiny feet, small budget and need-it-now timeframe, I ended up with a less than ideal situation. So I actually ended up with two pairs of shoes. One strappy stiletto for the prosthetic and a wedge for inside the boot. They were equal height btw.
Side note: My original plan was much more ambitious and crazy. But I won't burden you with my insanity.
I started by using my dremel to cut off the stiletto ( I started and got half way through the wrong shoe btw). Using poster board I patterned the cup of the prosthetic where his limp ends and the utility 'feet' switch out. I also did this for the metal peg. I worbla -ed the silver part of the peg because it was twisting and flimsy. I patterned and sewed up a quick sock out of milliskin spandex. I velcroed all the armor/pegs to the sock.
I decide to keep Hiccup's cartoony portions. For the boot, I used quarter inch floor mats to build a larger than life shell to go over my wedge heel. I added further details in 2mm and 3mm. To kept my foot from moving around inside my franken-foot, I added bits of foam to toe and heel. I never got around to painting the brown on the boot.
Wig
I bought a magnum in Warm Spanish Brown from Arda. It was my first time styling a spiky boy wig, it was quite difficult. I left the back kinda long because I still thought at this time I was doing a gender-bend. I purposely chose a reddish wig because in the books Hiccup has heroic red hair. I used some loose wefts in the same color to add his braids. I stuck wire up the center to help defy gravity. I hand sewed them in the wefts.
I think for round 2 I'll purchase a second wig in a more accurate dark brown.
Result


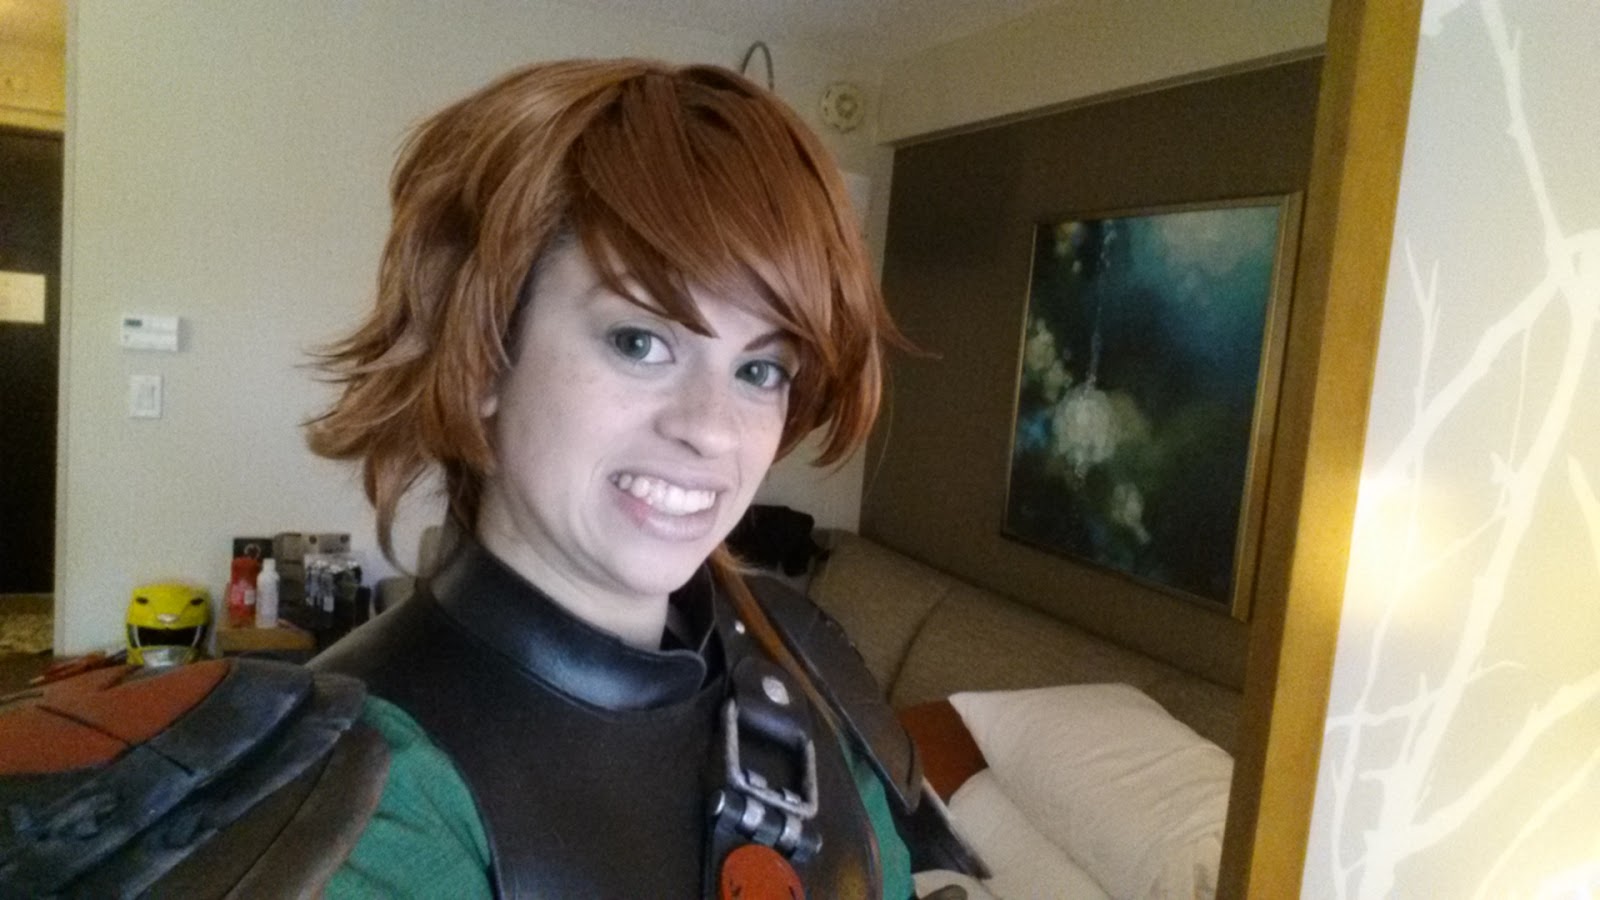
I didn’t much like the costest I did when I threw it all on but I’ll tell you what makeup makes a world of difference. I hadn’t practiced or thought much about what I wanted to do makeup wise other that I wanted freckles. At fanime I scrubbed off my Princess Luna map and just started throwing on foundation again. I based out my whole face and neck, including my lips. I added a bit of neutral eye shadow to my crease to add back in some depth. I drew on my eyebrows a bit thicker than the pencil thinnest that I had plucked them to for my other characters that weekend. I used a brow pencil to dot on my freckles. I was honestly afraid to put anymore eyeshadow or even a bit of lip color, I didn’t want to look too girly. The results were so convincing even though I had just slapped on some makeup poorly. I couldn’t believe it! I looked like a boy! Or so I think anyway. It’s always nice when you get feedback especially when from friends.
A few months later I wore Hiccup again with vastly update makeup! The only thing I am struggling with is getting the freckles dark enough to show up on camera.
But first Selfies!
 |
| Genuine surprise at your midday makeup change. |
 |
| Real smile is real. This is why I cosplay. |
 |
| When you put your cosplay on for the first time in the hotel and you freaking ecstatic. |
 |
| Before I left the AC and died... |
 |
| Eyebrow shape is key. |
 |
| This run I went circle lens-less. |
 |
| I legit sneezed lol. |
 |
| I got the scar this time. |


Photos!


 |
| Verocious Verona |
 |
| Verocious Verona |
 |
| Verocious Verona |


.JPG)
