Thursday, July 24, 2014

W.I.T.C.H. : How to, Walk through, Tutorial...

W.I.T.C.H. 
Hay Lin

Irma
Why I chose these cosplays:
These were at the very bottom of my bucket list of to-do cosplays. But then I was approached to do a group with a Cornelia and Will. My sister were fans of this series since it first was available in the states. I loved the first comic book available from Scholastic but when they switched to those lame novels with a few comic pages in the middle I lost interest. However my sister continued to collect the books and watched the show as well. Needless to say we were both very excited to have the opportunity to do these cosplays.
Research:
We had to decided to go with the comic book versions of the characters. The main difference being the colors of costumes. I wanted to go with the comic because it was beautifully drawn and the animated show not so much. I wanted some solid reference and I liked the colors better (I was not about to make a magenta and sky blue costume! EH!)
You can see the difference here.

It was kind of hard to find pictures from the comic book but fortunately I still have my comic number one from middle school!
It took forever to find the right color fabrics. Really in the end I think I got lucky. I ordered one huge swatch order from SpandexWorld.com and got nothing close enough. Then on my second order on the first page, right next to each were the perfect fabrics. So lucky! The dark teal was especially hard to find.
I tried to find the exactly right colors for the tights as well but it was hard to tell ordering online, as you can't order swatches of tights.

Construction:
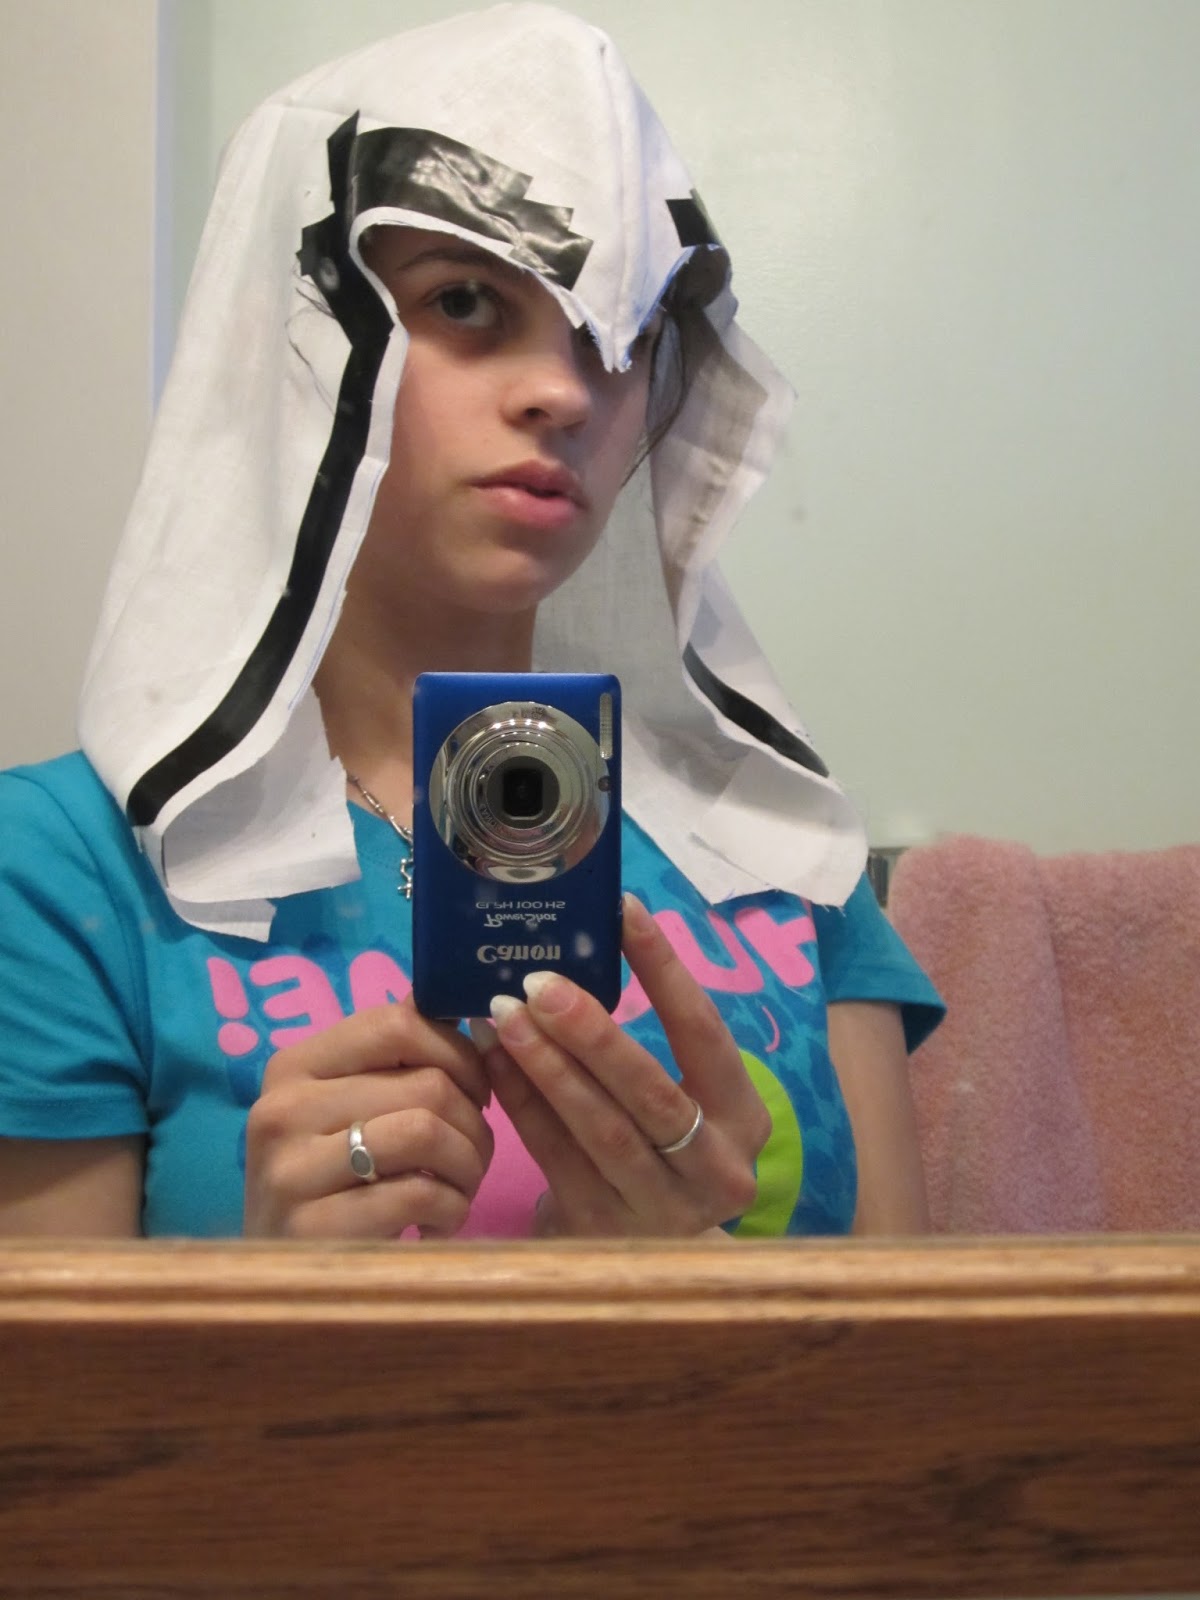
I started with drafting patterns from my sister's and my duct tape doubles. Easy enough!
When I got the fabric I cut it out and got sewing. I attempted to use my rolled hem foot which just did not work. What I really need was a walking foot. I ended up hand folding, pinning and hemming the all the edges with dis-solvable stabilizer. Which was a total pain in the ass. But they were done! The easy part of the costume!
Materials + Reference

Hay Lin's Panties which I foolishly forgot to put elastic in the leg holes

Hay Lin's top, with had silly pointy bits that had to be tapped down

Irma's top, with it's stupid swirly bits


Then it was on to the wings!
I made a pattern up and transferred the pattern to worbla...8 times. My hand hurt so much from cutting it all out. But first I spent many many hours making the colored parts of the wings. I used colored tissue paper and cut out and glued the two colors together. Then I put all 16 pieces into my lamenting machine. And then cut those all out too. Then I began the slow process of piecing the worbla lament sandwich together. I started by heating the worbla up to adhere the worbla together. Then I heated it again to bevel and round edges. Finally I heated it put a overall curve in the wing.
I put several layers of wood glue on all of it. Then I put more layers of paint and clear coat.
The harnesses were made from wire hangers shaped into a square U and cover with worbla. I looped through some clear straps on the U and it all goes on under the shirts and sticks out two small holes in the shirts. I had embedded wifi antennas in the bases of the wings. The antennas rotate and click into position and I was hoping to have adjust adjustable wings. However the ones I bought were just too wimpy to support the weight of the wings. The original one I had was much beefer and survived.
But these things were round, so with some help I had to drill holes through the socket and wing base.So that I could insert a pin to keep them from spinning around. 


Laminating

Worbla sandwich

Painted with mounting hardware installed

The most nerve racking part of the costume! The tights! I bought two pairs of tights from we love fine.com. I tired on pair on, marked the lines then took them off and evened the lines. I cut both tights in strips or rings. I began sewing rings together alternating colors obviously. Now the problem was that the my extra stretchy stitch didn't stretch as much as the tights. OMG can you say Michelin man? Fortunately I wasn't I tried it on as I went and I realized this problem. I pre-stretched the rings and pulled on them as stitched. Didn't pull on them quite enough, so when I put them on my sister I pulled on them until a stitches broke. Which wasn't too bad because of tricot is a triple lock stitch so it didn't unravel.
Cuts to pieces lol

The begging

Hay Lin's socks, tights

Wigs! Irma's was pretty much just go with the motions. I cut it into layered side bangs then I set the edges in curlers. I gave it a hot water bath and let it dry naturally. I then worked some volume it into with some hairspray and a dryer.
Irma's wig drying after hot water
Irma's wig fluffed
Hay Lin's wig was another matter....
I ordered a super duper expensive wig with an extra pack of long wefts from Arda. This was just before arda added widows peak wigs to their lineup. Not that that would have helped me because Hay Lin has a unique hairline. So I set about ventilating her peak and side burns in. I did this for at least 3 three hour long classes plus several hours a day everyday for a week. When that was done I began to separate the wefts for the two pig tails in the back. This was when the headache started. The wefts just didn't want to separate and tangled ridiculously. My 25 dollar ebay wig for Starfire didn't tangle like this when it was new! SO I pined the weft to my wall and very slowly combed it all out so I could work with it. I wrapped it around the short pig tails I had gathered on my base wig. I pinned and wrapped on the pony tails super carefully so I could easily take it take it off if I need to re-style the base wig. I went to put some hairnets on the pony tails so that they would stay in one piece and hopefully not tangle as much. BUT they wouldn't even stay neat while I very very delicately sewed on hairnets over them. I was so frustrated. I was really disappointed with my first Arda purchase.For the hair ties I just made some out of the matching material and slipped them on.
Hay Lin's wig with custom ventilated lacefront hairline

The boot covers I just made some quick patterns with tape and saran wrap. I cut the matching material. Sewed them up and hot glued them to the base shoes we got from the Goodwill.
Rather simple boot covers, Hay Lin's didn't come out as good as Irma's
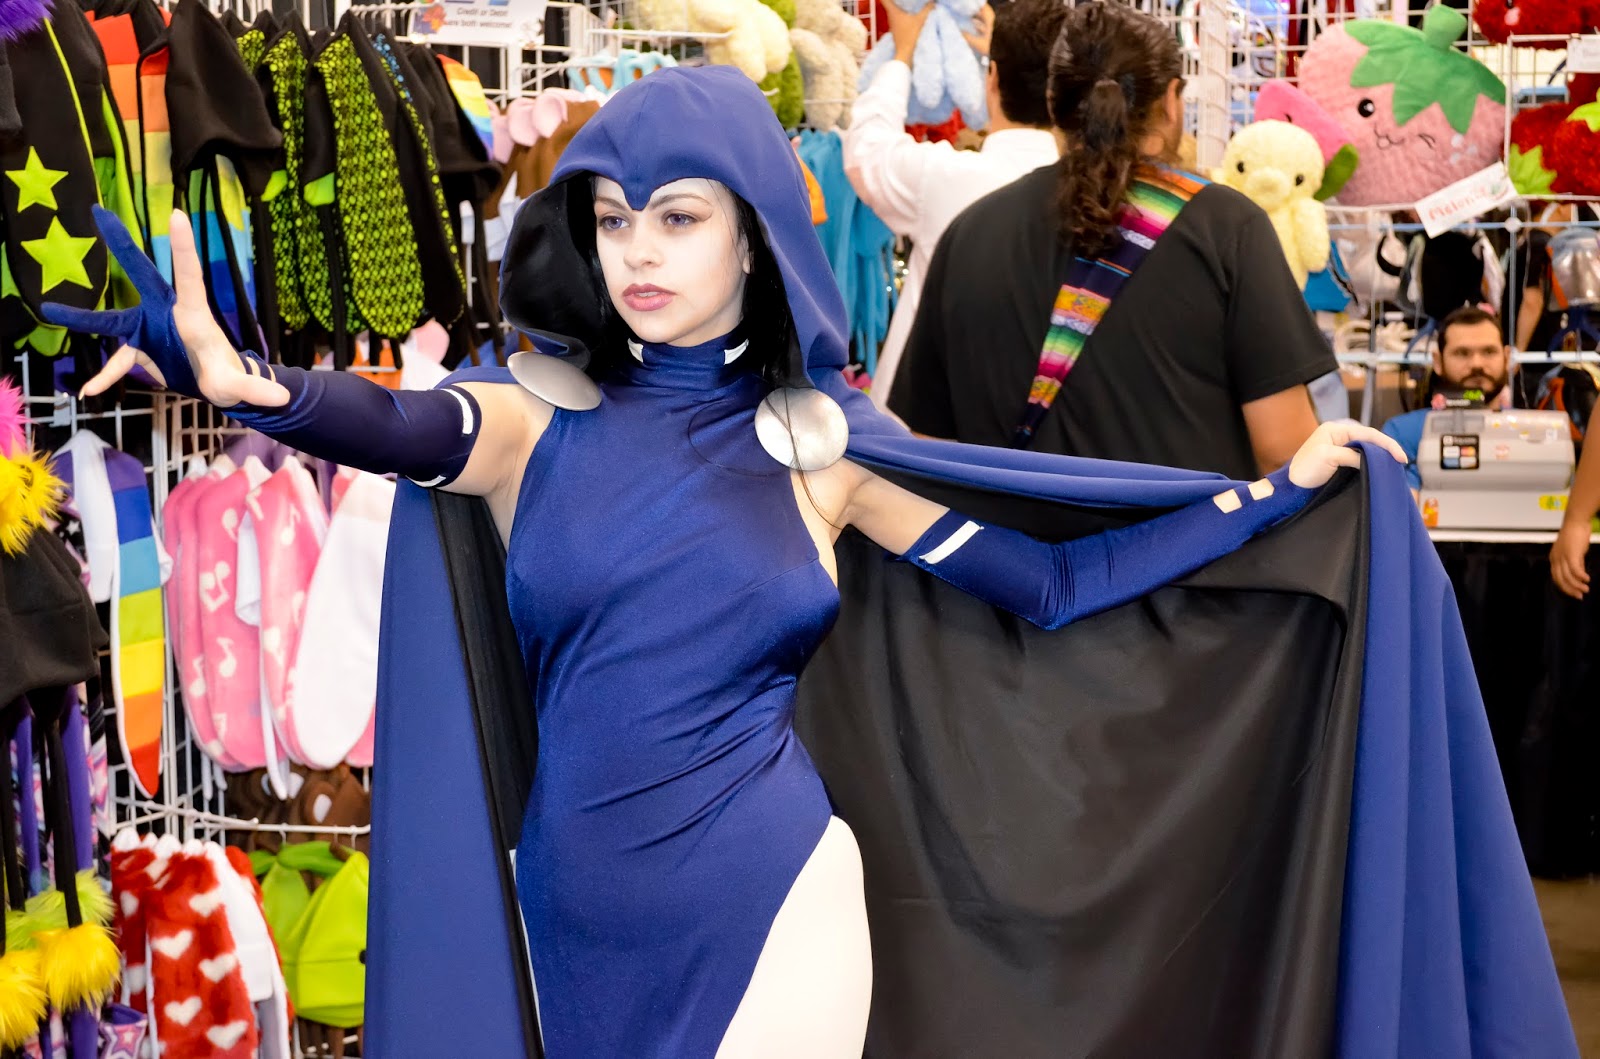
Final Result! 


Photos by OscarC Photography on Facebook.


Tuesday, July 22, 2014

Raven : Teen Titans: The Walkthrough, How to, Build, Guide, Tutorial

Raven
Teen Titans
DC Comics
Why I chose this cosplay:
I don't why but I was always attached Raven since I first read her in Mike McKone's run in the 2000's. She's so mysterious and reserved. So anti-people, like me! Her design is so elegant.
I didn't have to do much research as I had all the details in my mind because my Teen Titan comics are so well loved.
Design Process:


I began with a lot of different sketches to try to figure out the technical details of the costume before I got started. Here you can see a lot sketches for the leotard that would go under the dress which would become the nerve center of the whole costume. The leotard simultaneously keeps me modest, holds the cape on, and keeps the dress from ridding up.  The original leotard called for silicon cups to be sew/glued in for a seamless supported look.
There is also some internal structure of the hood. Where I would place interfacing and supports and such. The top image is just overall look with some makeup and seam choices.
Finding materials:
I had in mind a material from JoAnns for many years. A dark blue suiting that was super silky and flowy! But still wanting the explore my options and afraid of using a non-stretch material for a superhero costume, I explored my options. I ordered my first swatches from SpandexWorld.com. All except for one were unacceptable (too thin) but the one that was good was perfect! A metallic (not metallic foil) navy blue milliskin. And it was an almost perfect match in color and texture!
The search for a cheap lacefront was not hard as I found a seller earlier on ebay for Azula's wig.
Here are the two materials next to each other: the suiting on the left and spandex on right.
Pattern Drafting:


I began by drafting patterns directly on my duct tape dummy. I used packing tape and saran wrap to transfer the pattern off. Since this was my first time using this method so I went to the extra touble doing a fabric mockup. I tested out some extra seam so see what it would look like. I only ended up using these for the under leotard.
For the cape I messured from my shoulder to feet with a few more inches for the heels. I then drafted a wing shaped cape.
Haha the cape was so big I had to go two stores! It was a total of 16 yards, 8 per side.
It wasn't too much work getting a draft I was satified with for the hood.

Constuction:
I don't remember what I made first but both ending needing fittings and additional taking in. This was mostly due to the indivual properties of the fabrics. I also lost a bit of weight while I was making this costume.

After a test with the swatch I decided it was safe to cut the fabric exactly on the seam lines. Yep that means none of edges were finished. Which means I had to cut the fabric very carefully.

The most difficult part was the "windows" it was clear after making a sleeve that they needed to be stablized to keep their. Still very intent on making a seamless as possible I did all these micro seams on the back of the windows. I cut the window out in an x pattern leaving tiny triangles to sew the skin tone fabric to.

For the hood I a bit of trouble with the actual materials didn't drape as well as the mockup. I had to a great deal of ironing over a ham to get it right. I also sewed in a very ridged piece of fabric just inbetween the lining and outer material. I put just on the top of head to flaten out the center seam.
I also sewed in a channel into the seam allowence in point area so I could slip in some wire.
Where the hood and cape meets I slipped in some D-rings, these hold on the cape. I slip these trough a slit in the dress and hook them into the leotard. The silver discs cover this hot mess up.
The broaches or silver discs are made of two layers of worbla stuck to themselves. I basicly followed Kamui's youtube video on boobie bags to do this. I just used a larger dome so they weren't so curved. I used steam because I didn't have a heat gun yet. I then put a  lot of filler primer on them and sanded forever. I used Kyrlon's Premium Chrome Paint. I would strongly advise putting a clear coat on this stuff because it rubbs off or the shine dulls out with touch.
With primer!
The discs just tie on with straps that were glued to the back.
The hardest thing I had finding were pale or irvory or cream colored tights. I only was able to find these in the U.K. I tried twice before I got a pair that had a nice dienzer to them. Orginally I used double sided tape to attach the boot covers to the tights. Recently I sewed the boot covers to the tights. I used a small zig zag stich to do this. It looks a lot better than the tape and is nearly invisable. I wish I had done this originally because the tape was really hard on the material. It just took a lot of pins and a lot guts lol. You have to pin it while it's on you or if you have secound of your leg then you are lucky.
Makeup:
I used Mehron's Starblend in one their palest colors. I used it on my face and sides and arms. The jem is glued on with spirit gum.
Finished Product!


Classic Starfire by RosieGaga

Sewing Obi-Wan Kenobi: Tutorial, walk through, DIY jedi

Episode III: Revenge of the Sith Obi-Wan Prequel: The mock-up process New craftroom=time to dig out the old nasty mock-up Dic...